A closer look at sockets and TCP/IP
Socket programming is easy. Languages like Python provides robust libraries to create and manage sockets and socket communications. However, do you know the packet-level details of the socket library functions/commands that you execute? If you are curious about it, you came to the right place.
The best way to learn is to experiment. So in this article, we will set up a sender, listener and Wireshark to experiment and learn.
The setup
Here is our experiment setup:
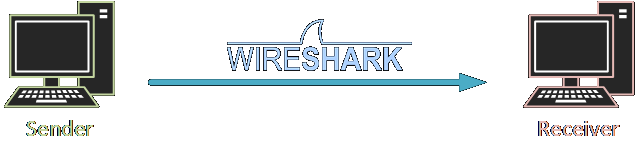
Under this simple setup, we will execute commands of our interest and analyse the network traffic. Let's not waste time going through TCP/IP and directly dive into the details. (If you need to brush up your memory on TCP/IP, there are tons of resources available online)
Experiments
We will use two simple python scripts as our sender(client) [source code] and receiver [source code]. In the given script, the receiver is hard-coded to listen to port 10000. We shall execute both the receiver and the sender from the same computer for simplicity. We will analyze the communication between sender and receiver using Wireshark. In Wireshark, the packets sent by the receiver will have their source port 10000. The packets sent by the sender will have its destination port 10000.
To start the experiment, let's start Wireshark and use a
filter:

The first row here represents the
Now let's start the receiver script. Three important commands we encounter
here are
bind() : Specifies the Network Interface and Port the socket object should use.listen() : Puts the socket to server mode and listens to connection requests on the interface-port specified bybind() .accept() : Accept data.
Let's understand this better. For this, we will execute the script in debug mode so that we can see what is happening for each of these commands.
First, let's put the breakpoint right after

One thing to note here is that, though the receiver isn't utilising the port now,
as far as the operating system is concerned, the port is in use.
No other process can bind to this port until our receiver frees it.
To see this, simply execute the receiver script from a different terminal
to get
Now, let's continue executing our receiver with a breakpoint right after

The script was in suspended mode! So, who did the 3-way handshake?
By now, you must have guessed about
I hope the article sets you up to get started with further experiments and deep dive into the topic. There are so many things you should try out with this simple experimental setup to learn more.
The end